Why Teaching Your Dog to Heel Changes Everything
Teach dog to heel and you’ll open up one of the most powerful obedience skills for safety, control, and confidence. Here’s what you need to know:
Quick Answer: How to Teach Dog to Heel
- Start indoors with high-value treats and minimal distractions
- Position your dog on your left side, aligned with your leg
- Lure into position using treats at hip level
- Mark and reward when dog maintains correct position
- Add verbal cue (“heel”) once dog understands the position
- Gradually increase duration, distance, and distractions
- Practice daily in short 2-3 minute sessions
Many dog owners struggle with walks that feel more like a tug-of-war than a pleasant outing. Your dog pulls toward every distraction, lunges at other dogs, or simply refuses to stay by your side. This isn’t just frustrating—it’s dangerous when crossing streets, navigating crowds, or passing triggers that spike your dog’s anxiety or aggression.
The heel command solves this. Unlike loose leash walking where your dog has some freedom to wander, heeling means your dog walks directly beside you, maintaining position regardless of distractions. Research shows that 98% of dogs can achieve this level of obedience with proper training, regardless of breed or age.
The benefits extend beyond walks. Heeling builds impulse control, strengthens your bond, and gives your dog clear structure. It’s especially valuable when you need precision—weaving through crowded sidewalks, passing other dogs, or keeping your anxious pup focused during stressful situations.
I’m Stephen Sovenyhazy, and while my primary expertise is in digital strategy, I’ve worked extensively with training businesses to help dog owners find effective solutions to teach dog to heel and other fundamental commands. This guide combines proven methods from professional trainers with practical steps you can start using today.

Understanding the Heel Command and Its Benefits
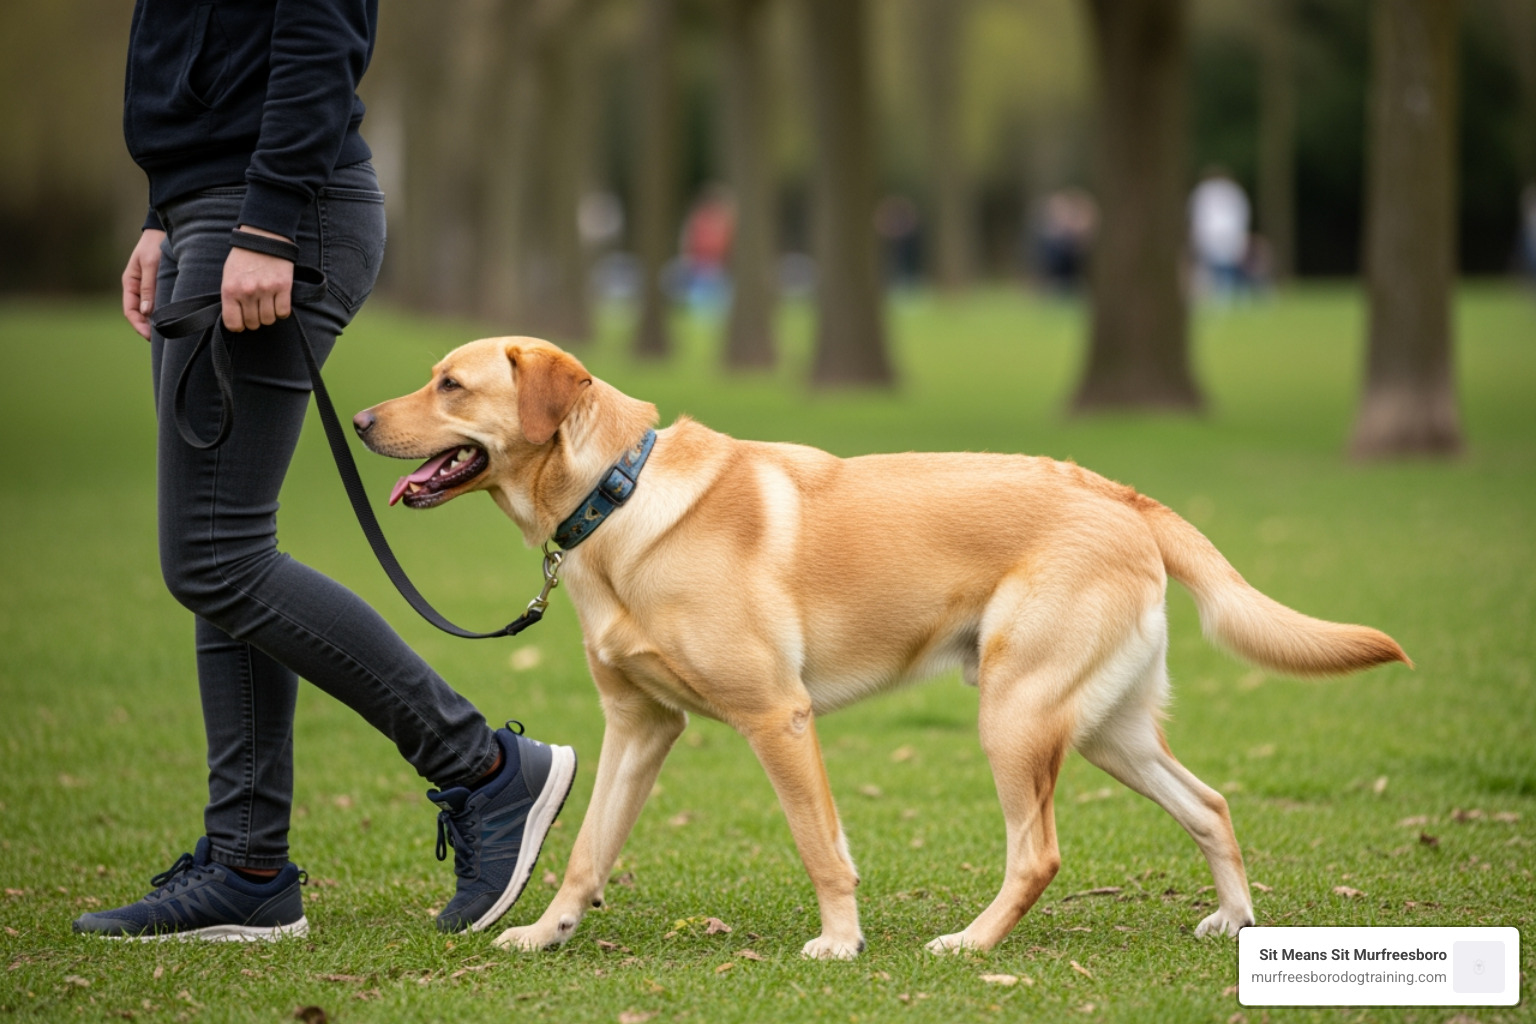
When we talk about the “heel” command, we aren’t just talking about a casual stroll. In professional dog training, “heel” has a very specific definition. It means your dog is positioned at your left side, walking parallel to you with no more than six inches of space between you. Specifically, the right side of your dog’s head should be lined up with your left leg.
Why the left side? Traditionally, this comes from hunting and military history, where the handler needed their right hand free for a lead or a tool. For pet owners in Murfreesboro and surrounding areas like Smyrna or Christiana, the side technically doesn’t matter for daily life, but sticking to the left is essential if you ever plan to enter obedience or rally competitions.
The core benefit of the heel command is safety and control. When your dog is in a focused heel, they aren’t scanning the environment for squirrels or other dogs; they are focused on you. This is vital for:
- Navigating Crowds: Walking through a busy farmers’ market or a crowded sidewalk in Murfreesboro.
- Safety Hazards: Crossing busy streets or walking near heavy traffic.
- Managing Reactivity: Passing by another dog that might be barking or lunging.
- Building Self-Control: Heeling is a high-focus task that requires significant mental effort from your dog, which helps tire them out and improves their overall impulse control.
According to AKC expert advice on heeling, heeling is a “directed shaping” process that makes walking a team effort rather than a solo mission for the dog. It transforms the walk from a physical exercise into a mental one.
Essential Supplies and Prerequisites to Teach Dog to Heel
Before we take our first step, we need to set ourselves up for success. You wouldn’t try to build a house without the right tools, and you shouldn’t teach dog to heel without the proper gear.
The Training Kit
- High-Value Treats: Think beyond standard kibble. We recommend small pieces of chicken, cheese, or specialized training treats. The reward needs to be more interesting than the distractions outside.
- 6-Foot Leash: Avoid retractable leashes at all costs during training. They provide inconsistent tension and make it impossible to give clear, subtle signals. A standard nylon or leather 6-foot lead is perfect.
- Y-Shaped Harness: We prefer a Y-shaped harness because it avoids putting pressure on the dog’s neck and allows for a full range of motion.
- Clicker (Optional): A clicker is a fantastic tool to “mark” the exact moment your dog is in the right spot. If you don’t use a clicker, a consistent vocal marker like “Yes!” works too.
- Long-Handled Spoon: This is a pro-tip for owners of small dogs (like Chihuahuas or Dachshunds). Smear some peanut butter or wet food on a long spoon so you can reward them without constantly bending over and breaking your own posture.
Prerequisites
Before you teach dog to heel, your dog should ideally have a basic understanding of the “sit” and “stay” commands. Most importantly, they need to be able to offer eye contact. If your dog isn’t looking at you, they aren’t learning from you.
| Feature | Heeling | Loose Leash Walking |
|---|---|---|
| Position | Precise (Left side, hip-aligned) | Flexible (Anywhere as long as lead is slack) |
| Focus | High (Eyes on handler) | Low (Allowed to sniff and explore) |
| Distance | Within 6 inches | Length of the leash |
| Purpose | Safety, crowds, transition | Exercise, mental enrichment, sniffing |
Step-by-Step Guide: From Stationary to Movement
Teaching a dog to heel is a journey that starts with a single, stationary step. We use a combination of luring (using food to guide the dog) and directed shaping (rewarding the dog for making the correct choice on their own).
One effective tool we often use is a “pivot bowl”—a shallow, overturned bowl or platform. By having the dog put their front paws on the bowl and moving around it, we teach them to find the “heel” position by swinging their hindquarters into place. This builds a strong “reward history” for being right next to your leg.

Starting with Stationary Positioning and Hand Targeting to Teach Dog to Heel
We want the dog to view our left hip as the most rewarding place on earth. Here is how we start:
- Hand Targeting: Teach your dog to touch their nose to your palm (the “touch” or “boop” command). Once they understand this, move your hand to your left hip. When they touch your hand at your side, mark and reward.
- The “U” Motion: Hold a treat in your left hand. Start with your dog in front of you. Move your hand back behind your hip, then circle it back toward your front in a “U” shape. Your dog will follow the treat, circling around and landing right by your side, facing the same direction as you.
- Marking the Position: The moment their shoulder is aligned with your leg, click or say “Yes!” and deliver the treat.
- Adding the Sit: Once they are comfortably landing at your side, ask for a “sit.” This becomes the “default” heel position.
For more detailed marker training, you can explore Clicker training resources to refine your timing.
How to Teach Dog to Heel While Walking
Once your dog is a pro at finding the heel position while you are standing still, it’s time to add movement.
- The First Step: This is often the hardest part. With your dog sitting at your left side, say their name to get their attention.
- The Forward Movement: Step off with your left foot. This is a clear physical cue to the dog that it’s time to move. Use a treat lure held right at your hip to keep them close.
- Short Bursts: Take only two or three steps initially. If the dog stays with you, mark and reward while you are still moving.
- Introduce the Verbal Cue: Only once the dog is reliably following your hip should you start saying the word “Heel.” Say it just as you begin to walk.
- The Release Command: It is vital to tell your dog when they are done heeling. Use a word like “Break,” “Free,” or “Okay.” Without a release, the dog will eventually decide for themselves when to stop, which leads to inconsistency.
- Fading Lures: Gradually move your treat hand from right in front of their nose to a natural walking position at your waist. You want them following the position, not just the food.
Advanced Heeling: Turns, Pace Changes, and Distractions
Once we have a basic straight-line heel, we need to make the behavior “real-world ready.” If you only practice in a quiet hallway in Rockvale, your dog will struggle when you’re out in Rutherford County.
Master the Turns
- Right Turns: These are easier because you are turning away from the dog. They have to speed up slightly to keep up with your outer arc.
- Left Turns: These are trickier because you are turning into the dog. You may need to use a slight hand lure to encourage them to tuck their hindquarters and move out of your way.
- About-Turns: A 180-degree turn to the right. This is a great way to re-engage a dog that is starting to lose focus.
Pace Changes
Practice walking in slow motion, then switch to a “fast walk” or a light jog. A dog that truly understands how to teach dog to heel will adjust their gait to match yours perfectly.
Proofing Against Distractions
Distractions are the ultimate test. Start small—perhaps a toy on the ground a few feet away. Gradually move to high-level distractions like another person walking by or a barking dog.
Pro Tip: Watch for “muscle bunching.” If you see your dog’s muscles tighten or they start fixating on a distraction, they are about to break the heel. Intervene before they break by using a quick “Watch me” cue or changing direction.
Troubleshooting Common Heeling Challenges
Even with the best training, you’ll likely hit a few speed bumps. Here is how we handle the most common issues:
- Lagging Behind: If your dog is dragging their feet, you might be too boring! Increase your pace, use a higher-value treat, or use an excited tone of voice. Some dogs lag because they are overwhelmed by the environment; if so, move back to a quieter area.
- Pulling Ahead: This is the most common struggle. If your dog gets ahead of your leg, immediately stop or do an about-turn. Do not let them “win” by getting to move forward while pulling.
- Sniffing the Ground: Heeling is a “no-sniffing” zone. If your dog drops their head, gently redirect them back to your hip. Remember to give them “sniff breaks” during the walk where they are released from the heel to be a dog.
- Boredom: Heeling is hard work! Keep sessions short. For a puppy, 2-3 minutes is plenty. For an adult dog, 10-15 minutes of focused work is a significant workout.
- Inconsistency: If you allow your dog to pull on the way to the park but expect a perfect heel on the way home, they will be confused. Be consistent with your expectations.
Frequently Asked Questions about Heeling
What is the difference between heeling and loose leash walking?
As we highlighted in our table earlier, heeling is a formal command where the dog must stay in a specific position (at your hip) and maintain focus on you. Loose leash walking is a more casual “don’t pull” rule where the dog has the freedom to sniff and explore as long as the leash isn’t tight. We usually recommend using “Heel” for short periods and loose leash walking for the majority of the exercise.
Which side should my dog heel on?
Traditionally, dogs heel on the left. However, unless you are competing in formal trials, the “correct” side is whichever side you prefer—as long as you are consistent. Most people in Middle Tennessee choose the left side to stay consistent with standard training practices.
How long should training sessions be?
Frequency beats duration every time. We recommend 2-3 sessions per day, lasting about 5 to 10 minutes each. This keeps the dog’s “drive” high and prevents them from becoming mentally fatigued or bored with the repetition.
Conclusion
Teaching your dog to heel is one of the most rewarding investments you can make in your relationship with your pet. It transforms walks from a chore into a shared activity, providing safety for your dog and peace of mind for you. Whether you’re walking through the historic square in Murfreesboro or exploring the trails in Walterhill, a solid heel makes every outing better.
At Sit Means Sit Murfreesboro, we specialize in this kind of real-world reliability. We know that a dog who heels perfectly in a quiet living room might struggle when they see a squirrel at the park. Our personalized training programs are designed to address those complex behavioral issues, ensuring your dog is a confident, obedient companion in any environment.
If you’re struggling with a dog that pulls, lunges, or just won’t listen, don’t wait for the problem to get worse. We offer professional support across Murfreesboro, Smyrna, Lascassas, and all of Rutherford County.
Start your training program today and let us help you turn those stressful walks into the highlight of your day!